Mac OS X Snow Leopard makes it easy to partition your hard drive, which is a handy way to organize files and folders. If you find yourself needing another volume on a disk, or if you need to resize the total space on existing volumes on a disk, the Partition tab within Disk Utility offers partitioning controls.
You can’t monkey around with the partitions on a start-up disk because Mac OS X is currently running on that disk. Also, if you resize an existing volume, you may lose files and folders on that volume. Disk Utility prompts you for permission, but it’s always a good idea to back up a partition before you resize it!
1
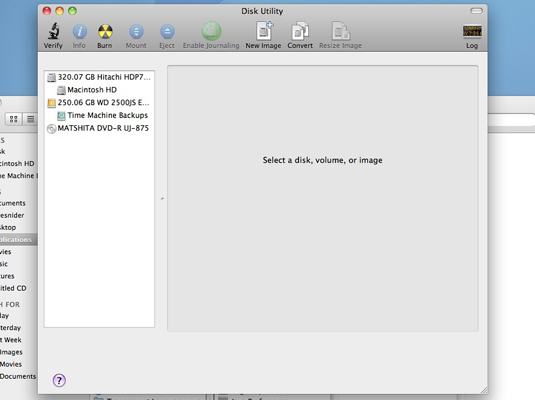
Choose the Applications folder and then open Utilities.
The Disk Utility opens
.
2
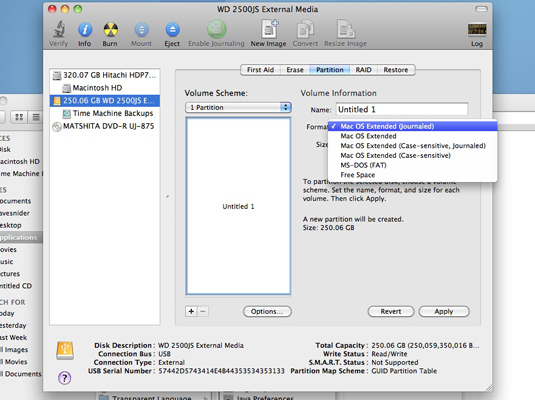
Choose the disk to partition.
From the Partition panel within Disk Utility, click the disk icon (left side of the pane) that you want to partition.
3
Specify the number of volumes you want.
Click the Volume Scheme pop-up menu and choose the total number of volumes that you want on the selected disk.
4Click the first volume block in the partition list (under the Volume Scheme pop-up menu).
The volume is selected.
5
Name the selected volume.
Click in the Name field and enter the name for the selected volume.
From the Format pop-up menu, choose a format for the volume.
Use Mac OS Extended or Mac OS Extended (Journaled) from the Format menu unless you have a specific reason to use the MS-DOS file system (for compatibility with PCs running Windows) or the UNIX file system (for compatibility with UNIX/Linux machines).
7
Specify the volume size.
Type a total size for this volume in the Size field.
8
Select the Locked for Editing check box.
This prevents additional changes to your new volume.
9
(Optional) Create additional volumes.
If you’re creating multiple volumes, click the next volume block to select it and repeat the creation steps for additional volumes.
10
(Optional) Click the unwanted volume and then click the Delete button.
This deletes any unwanted partitions.
If the partition is locked, clear the Locked for Editing check box before deleting it.
11
(Optional) Click the desired volume and then click the Split button.
Some folks create multiple volumes so that they can boot from multiple versions of Mac OS X. If the partition is locked, clear the Locked for Editing check box before splitting it.
12
Click the Apply button.
If you suddenly decide against a partition change, click the Revert button to return to the original existing partition scheme.
The Revert button is available only before you click the Partition button!
If you have more than one partition, check out the bar(s) with a handle separating the volumes in the partition list. If you leave all your partitions unlocked (by leaving the Locked for Editing check box disabled), you can click and dragthese separator bars to dynamically resize the volumes. This makes it easy to adjust the individual volume sizes for the disk until you get precisely the arrangement you want. If a volume is locked, it can’t be resized dynamically in this fashion.


0 comments:
Post a Comment